Android Studio Installation
Android Studio is now the official IDE for developing Android apps. Before installing Android Studio you need to make sure Java is installed on your computer. In the last step here we also setup Genymotion which is a faster and more efficient emulator for testing Android apps.
Step 1: Install The Java Development Kit (JDK)
First check to see if Java is installed on the machine or not.
Type the following command in a Command prompt (Windows) or Terminal console (Mac, Unix).
java -version
If Java is not installed you will see this message:
No Java runtime present, requesting install.
You will see a popup window appear as shown below.
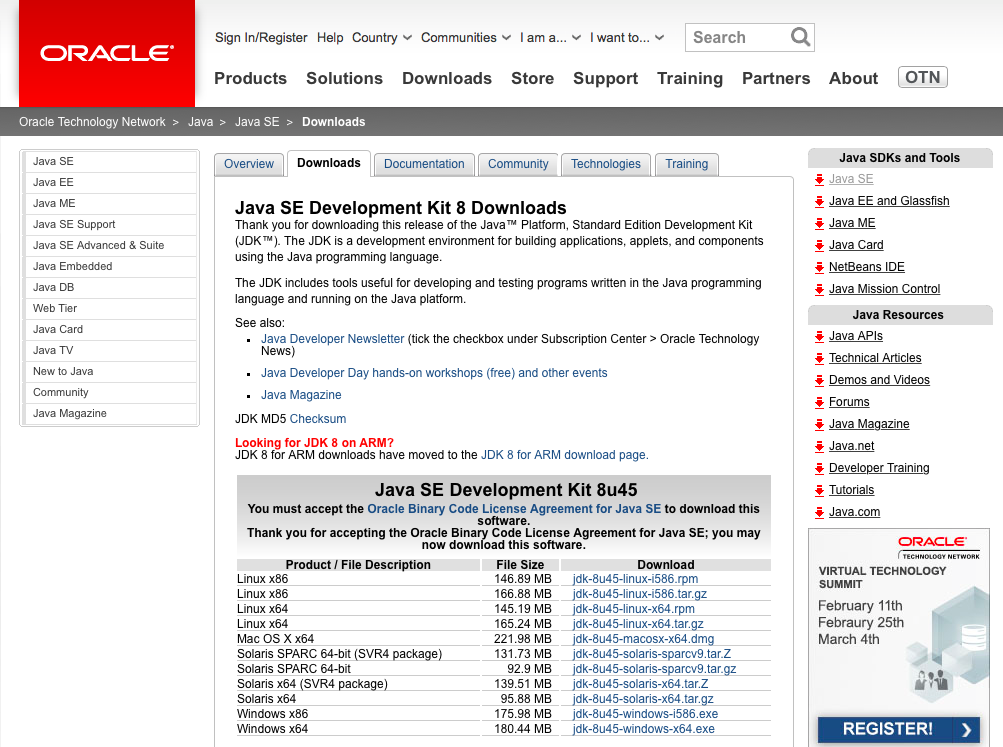
Clicking on “More Info” button will take you to Oracle’s Java SE Development Kit 8 Downloads page where the appropriate version for the system can be downloaded.
Step 2: Install Android Studio
Once you have Java installed, you need to download and install Android Studio.
Once the setup is complete:
- Launch Android Studio
- Click on Configure
- Click on SDK Manager
- Update/Install Packages
Step 3: Set Up Genymotion
Genymotion is a fast emulator for testing Android apps.
Get Genymotion here.
You will also need to download and install Oracle VirtualBox. Once the VirtualBox is installed and run Genymotion will work!
By: Narges Berry


